How to Add, Modify or Delete
An assembly is setup when 2 items need to be linked together for inventory purposes. This means that if you purchase one barcode, but sell a different barcode, then those 2 items need to be linked together. We refer to this in S2K as a parent child relationship.
The benefit to linking the items is that you can purchase, sell, or inventory either barcode and the system will do the inventory calculations for you.
Example
Parent: 4900002892- Sprite 12pk
Child: 4900000132- Sprite 12oz Can
QTY: 12
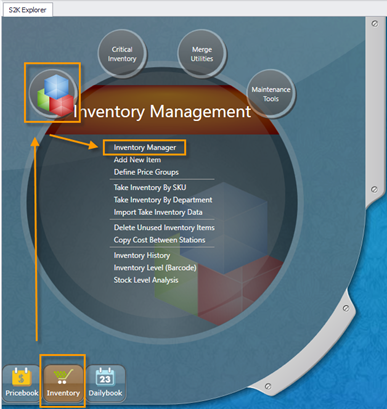
To create a new assembly, click on the inventory menu and click the Inventory Manager link from within the inventory menu
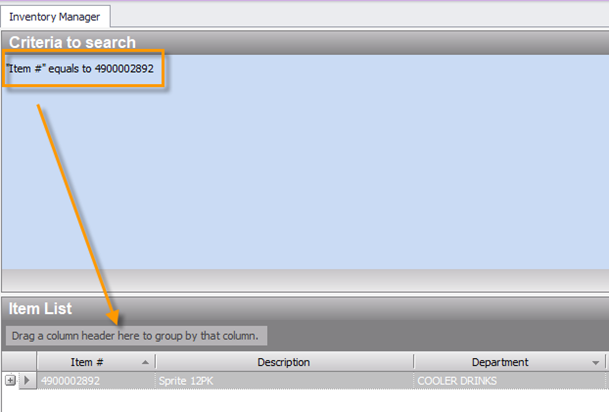
Search for the Parent UPC
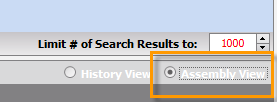
Change the view on this window to ‘Assembly View’
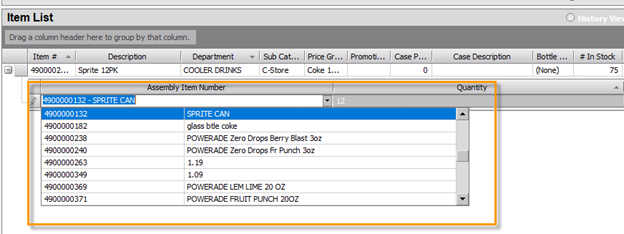
Then click the + symbol next to the ‘Parent’ UPC. This will expand the assembly field and allow you to assign the ‘Child’ UPC number.

Tab to the Quantity field and enter the number of child items within the parent. The quantity in this example is 12: 12 pack case includes 12 single cans

Then tab to the price ratio field. If the cost ratio is left blank, then the parent cost will be divided equally among the children. If the cost is not equal, then a ratio can be entered to divide cost accordingly.
Ex: Shipper components that do not divide cost equally.
You can use the cost calculation tool provided in the next section to assist with price ratio calculations

Tab through the line to complete.
The Inventory Manager has an auto-save feature, so it saves the data automatically as you enter the information.
To edit an existing assembly, click in any of the assembly fields to update
Then tab through the line to update and save.
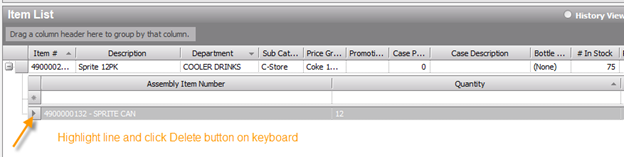
If you need to delete an assembly, highlight the assembly line and click the Delete button on your keyboard
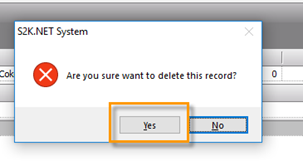
A confirmation box will appear, click yes to delete
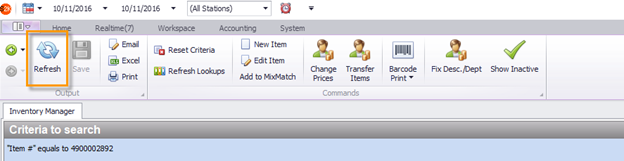
Then refresh the page to update