How to Connect to WIFI
To connect your handheld scanner to your wireless network:
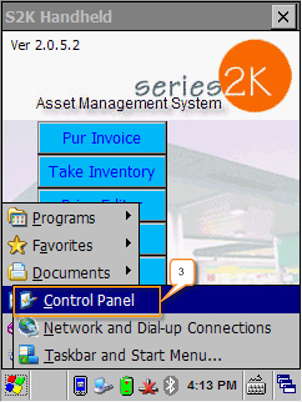
1. Click the small flag icon (Start button)
2. Click Settings

3. Click the Control Panel option that appears:
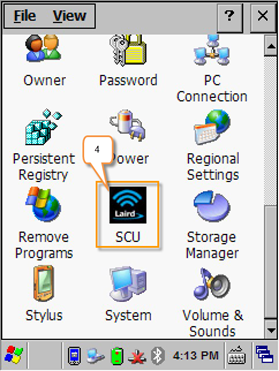
4. From the Control Panel window, scroll down to locate the SCU icon (pictured below). Double click the SCU application to open.
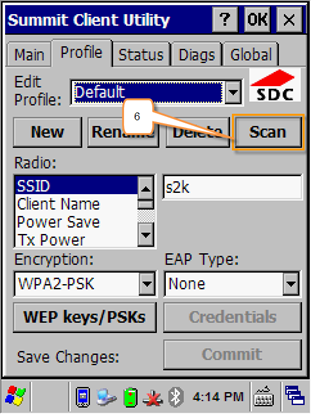
5. Click the Profile tab (pictured below):

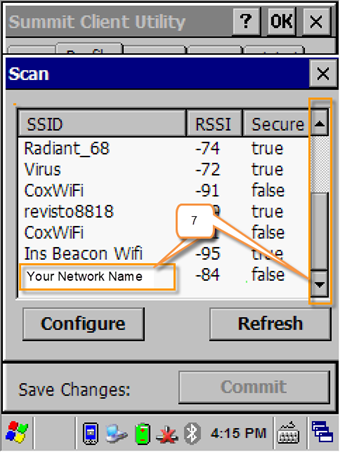
6. Click the Scan button– A list of local networks will appear.
7. Scroll through the list of networks: Double-click your network
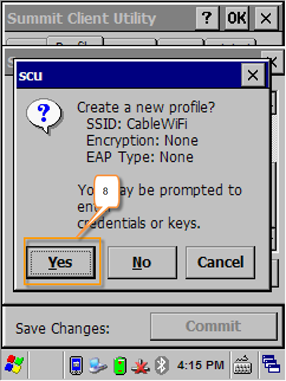
8. A window will pop-up prompting you to create a new profile with your network, click Yes.
9. In the next window enter your Network password then click OK
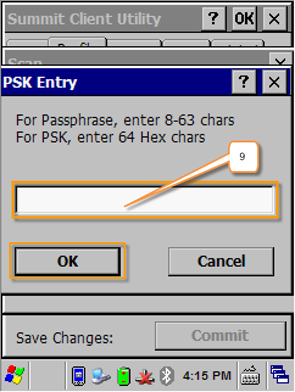
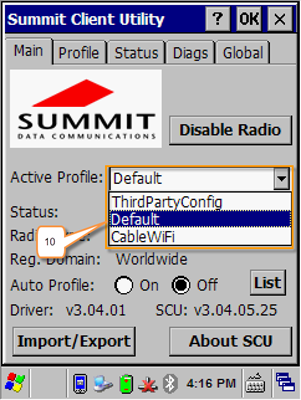
After you enter your network password and click OK you will be re-direct back to the Summit Client Utility (SCU) window.
10. Click the Main tab, then select your network in the Active Profile list to activate the WIFI connection on your handheld.