Navigation and overview
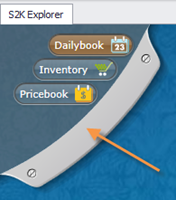
Open the main menu of S2K – click on the grey pull down tab in the upper left hand corner of the Home Screen.
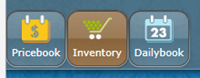
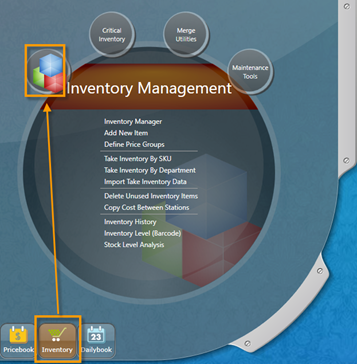
Select the Inventory icon from the three primary menu option.
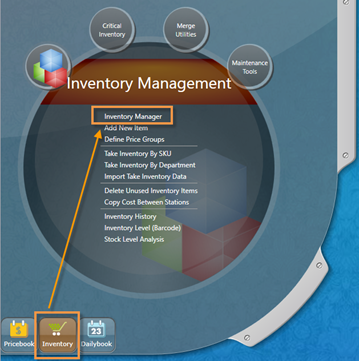
Select the first bubble, Inventory Manager.
Open the Inventory Manager by clicking the first link, Inventory Manager.
A search criteria window (pictured below) will open, allowing you to search the inventory manager for specific items using one or more of the item’s detail criteria.
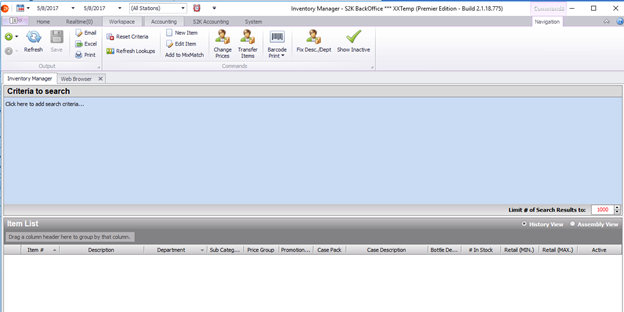
Overview of the Inventory Manager Toolbar

- Back button – When displayed “green,” clicking this icon will return you to the previously visited page
- Refresh – To update your view of any changes made to the item details. If you make changes, remember to save first.
- Save – When displayed “blue,” click this icon to save any changes. If the save icon remains grayed out after editing the item detail then the alterations were auto saved. To verify, refresh the page.
- Excel and Print – To export the items in the filtered window to Excel or Print
- Reset Criteria – To clear previous search criteria filter and begin a new search
- Refresh Lookups – refreshes the details displayed in dropdown menus throughout the window
- New Item – Add a New item/UPC to your inventory manager
- Edit Item – Edit an existing item that has been selected in your inventory manager
- Add to Mix/Match – Add selected item(s) to an existing Mix/Match promotion list
- Change Prices – To change retail prices for the item(s) filtered in the search criteria, you will re-directed to the Pricebook Manager
- Transfer Items – Multi-Site Use Only, quickly transfer inventory items between sites
- Barcode Print – To print barcodes or labels for the all items displayed in the window or for only selected items
- Fix Description and Department – Access the Fix Not Setup UPC(s) window to search the web to display descriptions for items in S2K and assign department detail
- Show Inactive – To display item(s) that have been set to an inactive status within the filtered search criteria.
How to Filter Criteria to Search
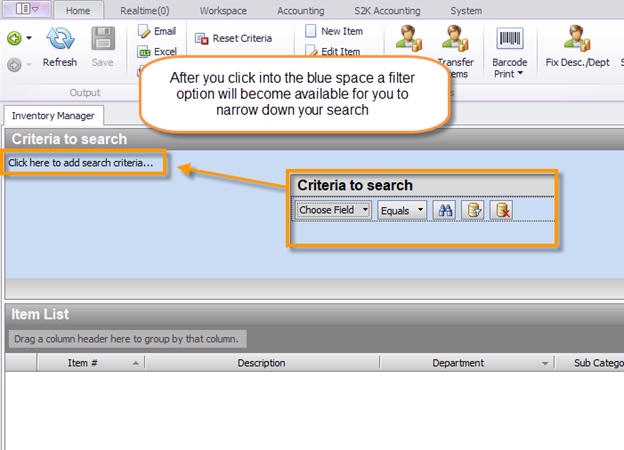
When you first open the Inventory Manager page you will be directed to a seemingly blank page. In order to view the inventory details of items in the pricebook you will need use the ‘Criteria to Search’ filter for the inventory items to display.
Click into the ‘Criteria to Search” area of the screen
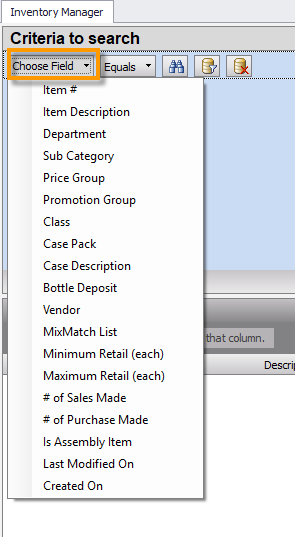
Click into the Choose Field option and select how you would like to begin your search
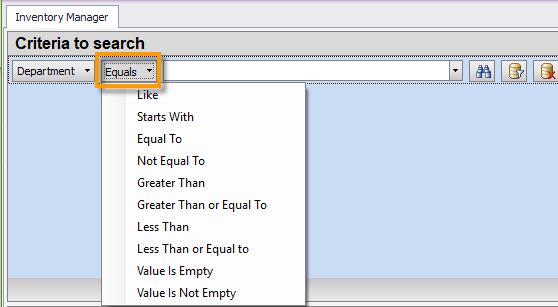
Select if you will be searching be exactly what you enter into the next line OR if you would like to search for something similar
EX: If you search by ITEM DESCRIPTION then you would want to use ‘like’ or ‘starts with’ to maximize your search – “Item Description like Marlboro”
Searching by a department or item # then the line for you to edit will become a dropdown menu of the options available to you in your database
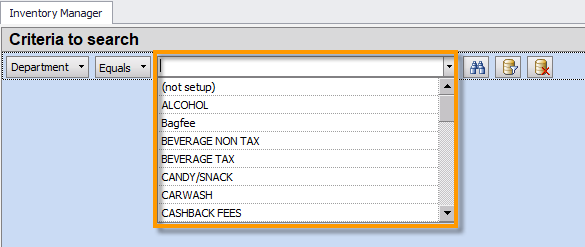
Either type in the information you are searching for OR select from the dropdown list THEN click the binocular icon to generate your filtered search

The inventory details of the items that qualified within the search criteria will then populate in the white screen below
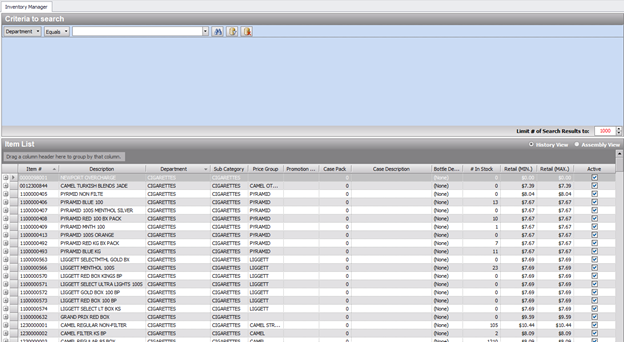
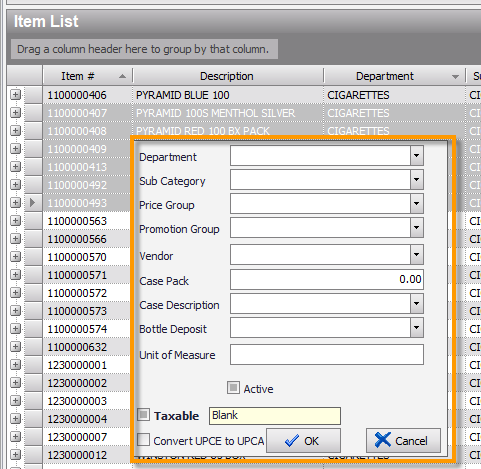
You have the ability to modify the description, department, sub category, price group, promotion group, and case pack in the screen by clicking any of the detailed options.
You can also highlight multiple items and make a bulk change –
Hold the CTRL key on your keyboard and select through the list
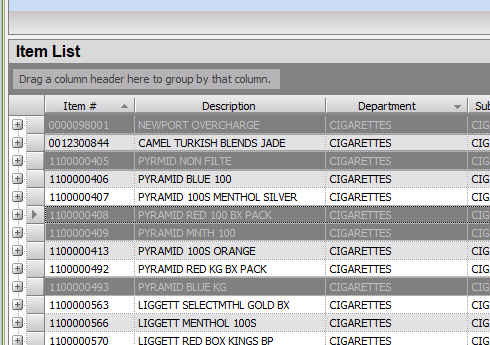
You can also highlight a range of items that are grouped together by selecting the first item and holding the SHIFT key while selecting the last item
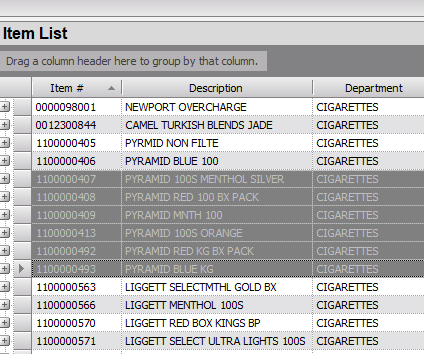
In the highlighted area RIGHT+CLICK and a window will pop up for you to apply bulk edits for the items selected
Be sure to save any change and send the items to the POS.